
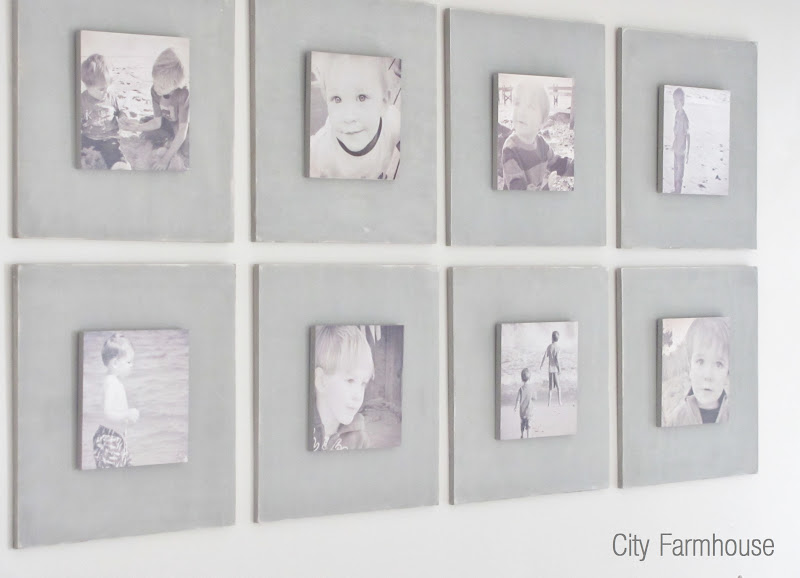
DIY Gallery Wall Tutorial
This is a very easy & fun
tutorial on how to create a gallery wall
for under $40.


What you need to start
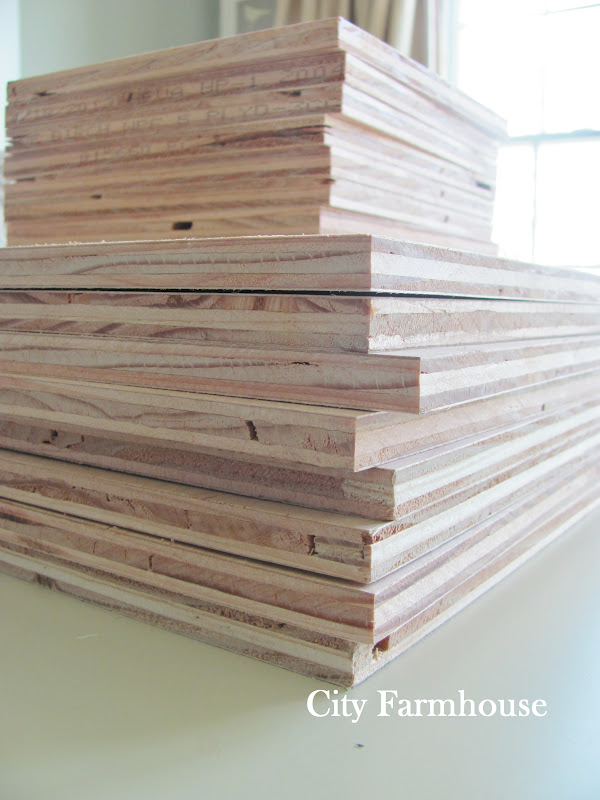
MDF
8-8″ x 8″ squares
8-16″ x 16″ squares
Check with your local hardware
or wood supply store because some will
actually cut the wood for you.
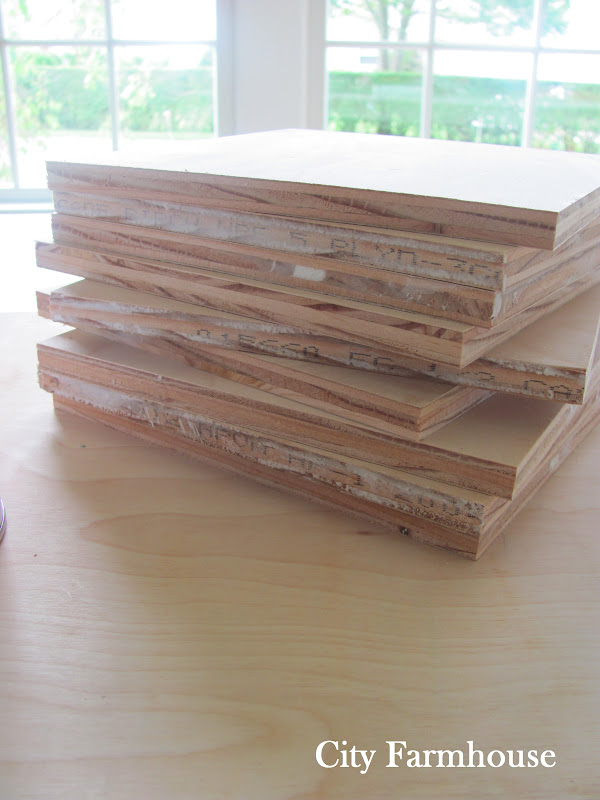
Large Squares First
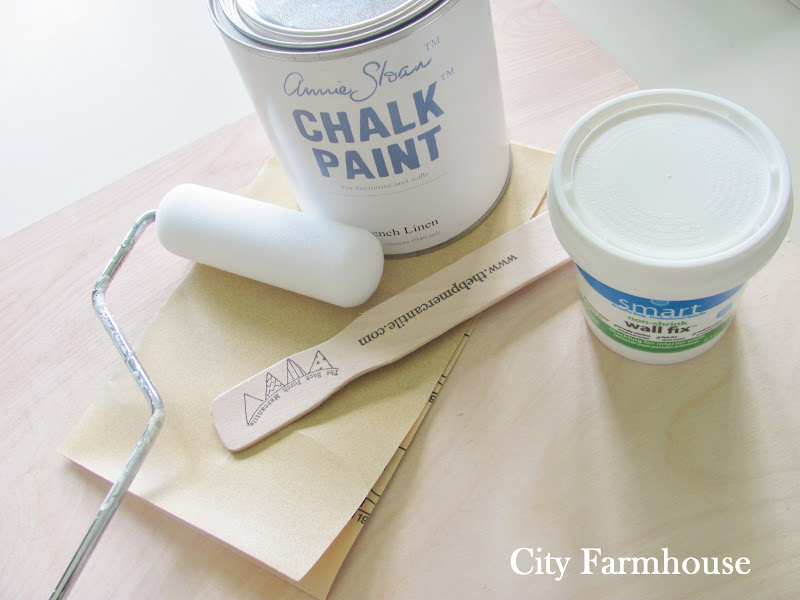
What you will need
8- 16″ x 16″ MDF squares
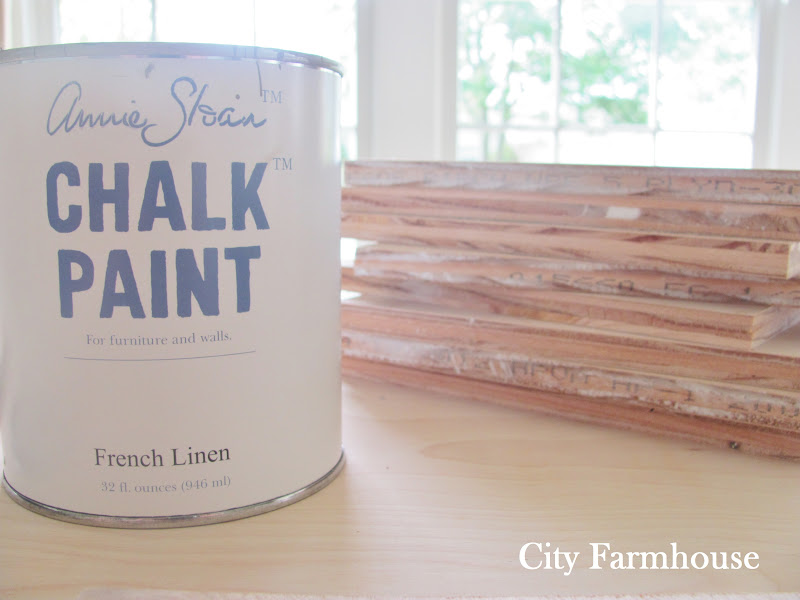
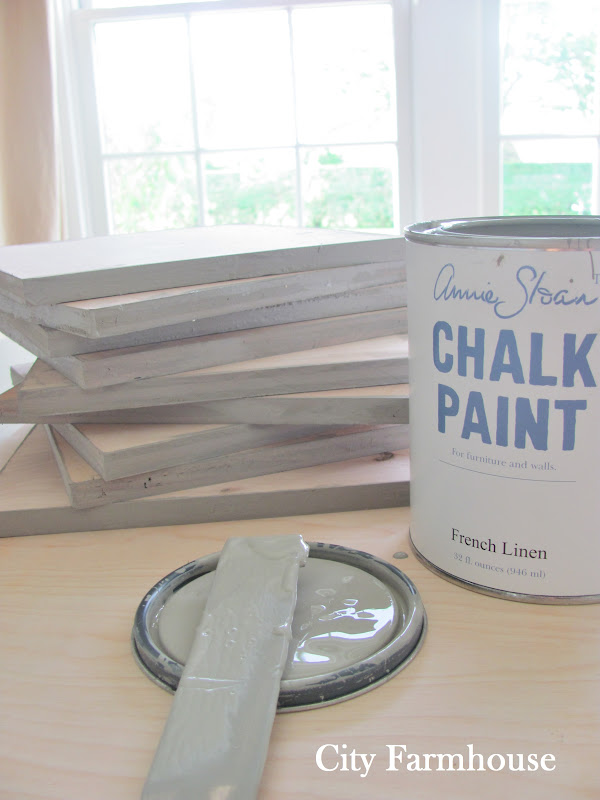
paint- I used Annie Sloan’s Chalk Paint in French Linen, click here to find it.
(the initial investment of this is $$ but I only used
1/8 of the can so I have lots left over for another project)
wall fix or wood putty
small roller
fine sandpaper
cream craft paint
cream craft paint

Fill those imperfections with wall fix & sand.
Next on to the paint.
Roll on the edges first, I think it is easier.
Let dry.
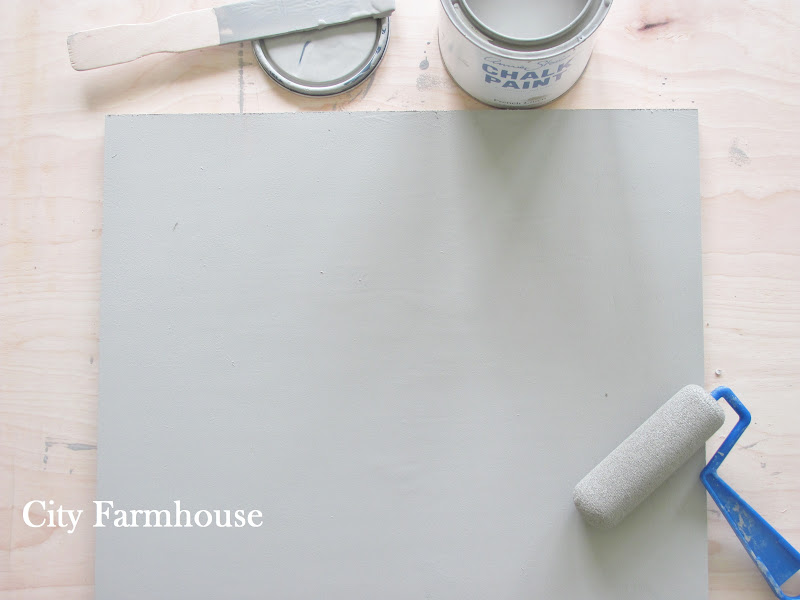
Roll on the top coat.
Two coats should do it.

This is the fun part.
Sand it to get the texture you want.
Go lightly until you get a motion that you like.
I liked the texture best when I gently went in a circular motion.
The areas you miss will be darker,
which is what you want if you like the textured look.

To get the edges to have some depth
use a squirt of cream craft paint and mix in a few drops of water.
Dip your finger in the paint & gently wipe the edges unevenly
&
then sand over the edges so it looks blended.
Put these to the side.
We are on to the exciting part.
Photos On Wood

What you will need
8-8″ x 8″ MDF squares
Tacky Spray
Mod Podge spray
Mod Podge glue
Mod Podge roller & scraper
wall fix
plain white computer paper
8 photos
Pic Monkey free photo shop
(it is amazing & really free, FYI I used the sepia & dusk)
exacto knife
chalk paint
roller

Again, roll out the edges first.
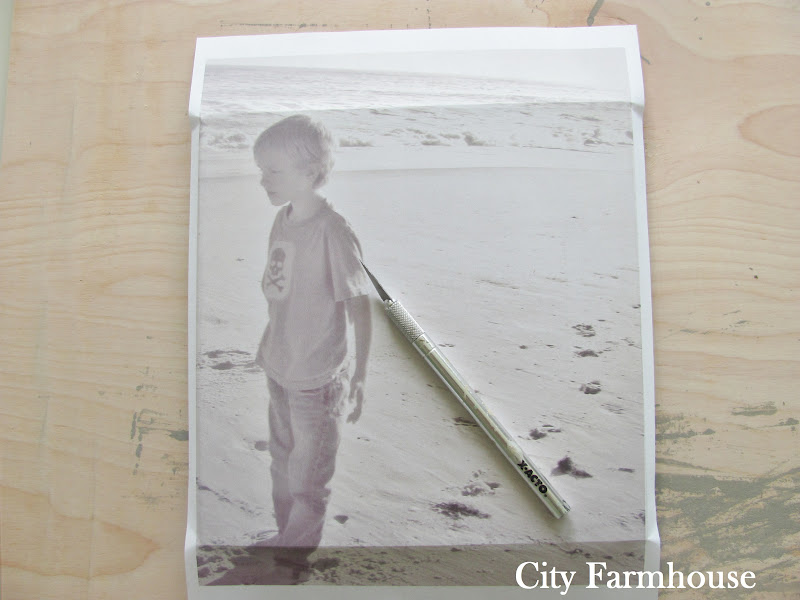
Next the photos

I printed mine 8″ x 10″ keeping in mind
that a portion of the longer side would be cut off.
To get an idea for placement of photo on the wood
place it on top of your square
press & crease the paper were you want it.
Spray an even coat of Tacky Spray on the square
& guide your photo on top.
Press evenly with palms.
Use the scraper or roller
& press or roll firmly get air bubbles out.
Use exacto knife to cut off excess paper.
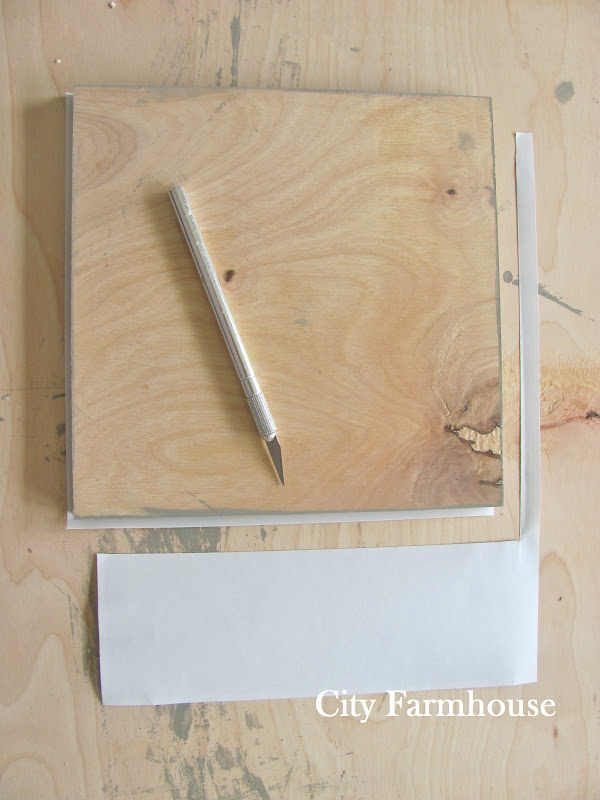
Flip the wood over & cut.
Be sure your knife is sharp so you get a clean edge.
Give time to dry.

Time to seal the picture.
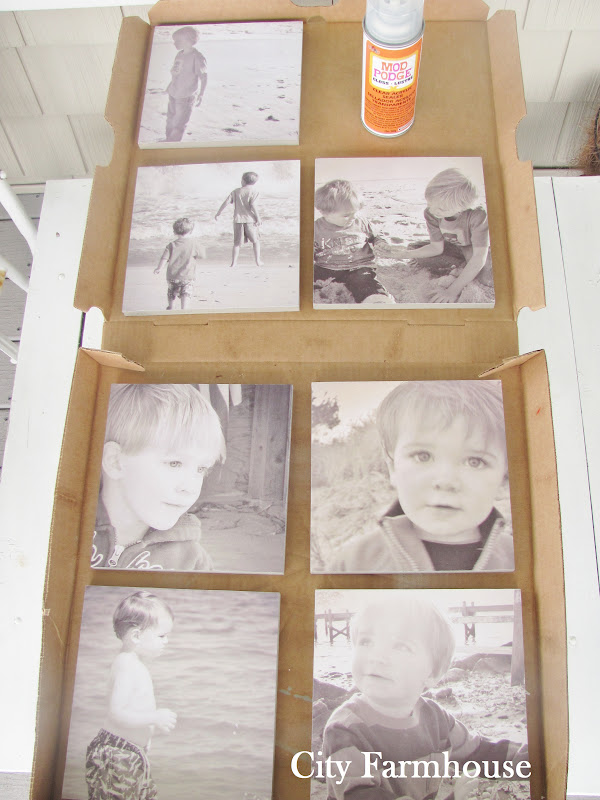
Spray all of your photos first with the Mod Podge spray
(less bleeding that way.)
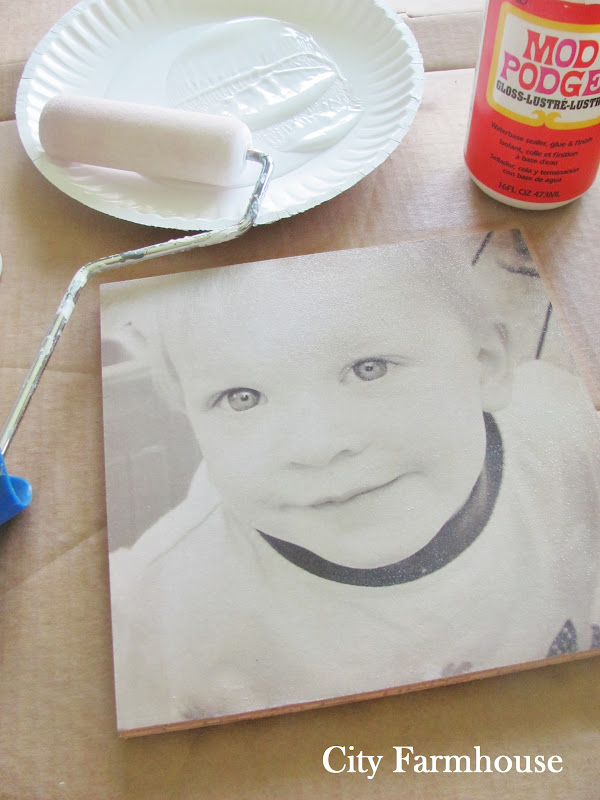
Then roll on 2 coats of Mod Podge glue.
Let dry.
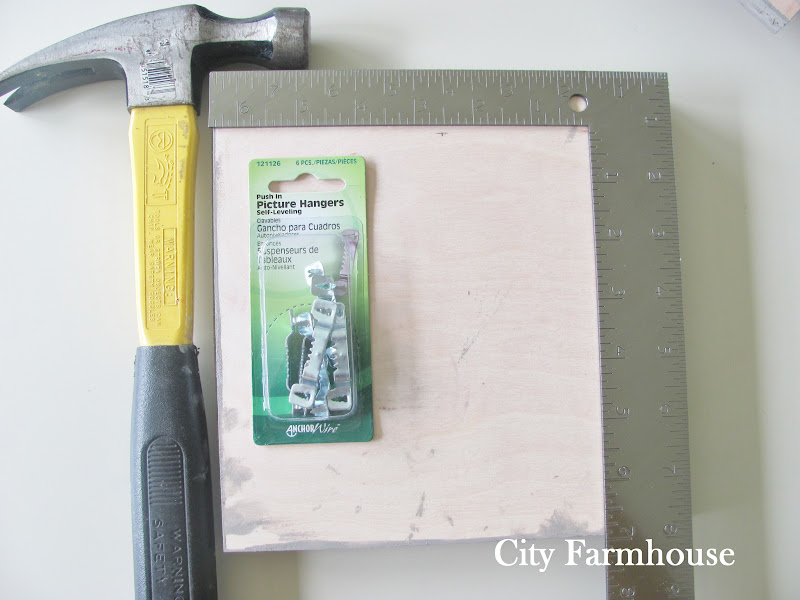
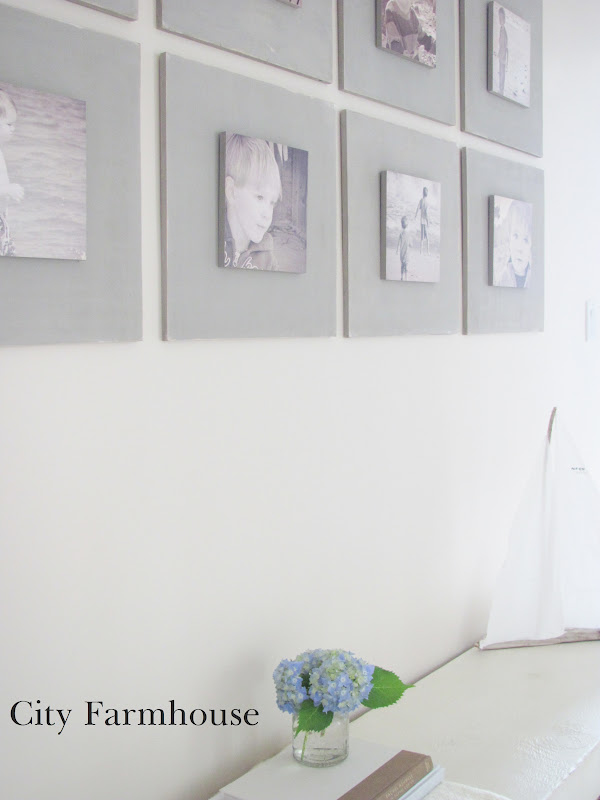
Hanging Them

Larger Squares First
Make sure to measure the middle
&
place your hanger the same space from the top.
Then Photo Squares
Same idea, place hangers in the same location on each.
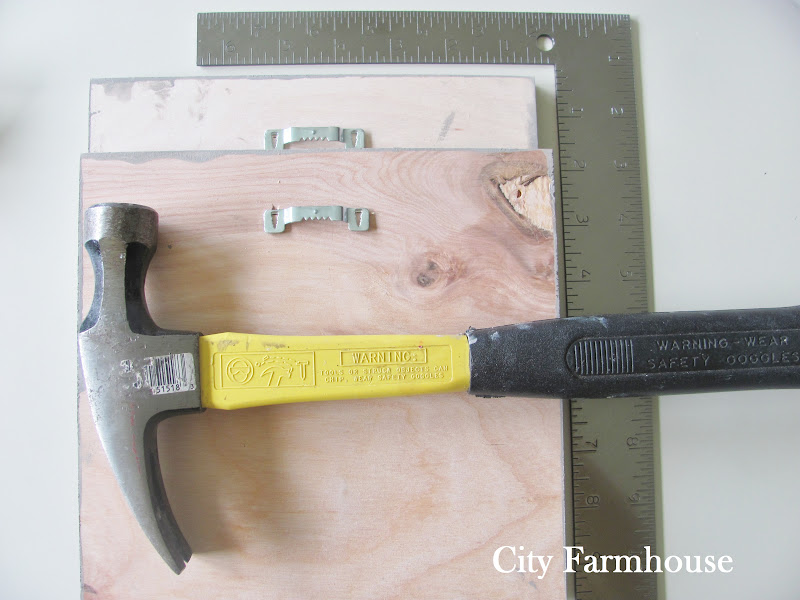
The 16″ x 16″ will mount to the wall
&
the photo square will mount on top on that.
That way it is removable in case you decide to change the photo.

Knowing the hangers were evenly
placed made for simple hanging when I was ready to hang the gallery wall.
In case you were wondering there is
1.5 inches in between each photo, horizontally & vertically.
Please feel free to leave a comment if you have any questions at all.
Happy Friday everyone
&
thank you for taking time out of your day to stop by!
-Jen


I love this! Been scrolling through esty and am in love with your work! Happened across your blog and I’m inspired now! I’m a photographer and have been looking for a creative way to display some of my work in my beach inspired living room. This is perfect! I can’t wait to recreate this for my own wall!
Absolutely beautiful! And budget friendly. You have a beautiful home and these photos are amazing in it. You gave great detailed instructions so I feel like I could recreate your gallery wall. Thank you.
I love this! You are so smart to hang the photos so they can be change easily! Thanks so much for sharing this great idea:)
Pure Genius & easy on the wallet!!! Your detailed instructions seem very do-able and the outcome has such an impact! A HUGE thank you for sharing such a marvelous project….I’m completely hooked on your blog; LOVE it all!
Gloria from Illinois
I love your idea and your directions are amazing! What kind of paper did you print the photos on? Is it photo paper?
Thanks for sharing! I just ordered a canvas of my grandaughter and was disappointed in the quality…yours are way more professional looking! I’m definitely going to try this! :0)
What a beautiful project. I love that the materials are readily available and inexpensive. Genius to have the ability to swap out the photos. Love it. I’m really enjoying your blog.
Great idea! Did you use photo paper for the pictures or plain paper? Thanks.
Did you paint the small squares before you put the photos on or just the edges of them? Thanks.
May I ask where you bought your MDF squares? I just came from Home Depot and they don’t sell these…
Hi Karla, You need to have them cut. Go to Lowe’s, they will cut it for you:).
Thanks Jen! May I ask what thickness of the board you used?
Hi Karla, it wasn’t that thick, I believe it was 1/2″. Good luck! Jen